FAQ About Architectural Photography
Architectural Photography
2 years ago | gizem
How can I deal with challenging lighting conditions in architectural photography?
Dealing with challenging lighting conditions in architectural photography requires a combination of technical skills and creative problem-solving. Here are some strategies to help you overcome difficult lighting situations:
- Wait for Golden Hours or Blue Hour: Whenever possible, plan your architectural shoots during the golden hours (shortly after sunrise and before sunset) or the blue hour (shortly before sunrise and after sunset). These times offer soft, warm, and diffused light that minimizes challenging lighting conditions.
- Use HDR Photography: High Dynamic Range (HDR) photography involves capturing multiple bracketed exposures of the same scene at different shutter speeds. In post-processing, you can blend these exposures to create an image with balanced highlights and shadows. HDR is effective for managing extreme contrast and harsh lighting.
- Bracket Exposures: Even if you're not creating HDR images, bracketing exposures can be useful. Capture a series of shots at different exposures to ensure you have options for post-processing. This technique helps when you need to recover details from highlights or shadows.
- Use Graduated Neutral Density (ND) Filters: Graduated ND filters are useful for balancing exposure in situations where the sky is significantly brighter than the foreground. These filters gradually transition from dark to clear, allowing you to darken the bright sky while maintaining proper exposure for the building.
- Circular Polarizing Filter: A polarizing filter can reduce glare and reflections on glass surfaces, making it easier to capture interior shots or reduce unwanted reflections on building exteriors.
- Reflectors and Diffusers: Use reflectors or diffusers to modify natural light. Reflectors bounce light onto your subject, filling in shadows, while diffusers soften harsh sunlight by scattering it. These tools can help control and improve lighting conditions.
- Interior Lighting: When photographing interiors, control artificial lighting sources. Use the existing lighting or supplement it with external lights to balance interior and exterior exposures. Avoid mixed lighting sources that can create color temperature issues.
- Flash or Strobe Lighting: In some cases, adding flash or strobe lighting can help balance extreme lighting conditions, such as deep shadows or overly bright exteriors. Experiment with off-camera flash or multiple flashes to achieve the desired result.
- Long Exposure Photography: Consider using long-exposure techniques to create unique effects with challenging lighting conditions. For example, you can capture light trails from moving vehicles or people during nighttime shots.
- Post-Processing: In post-processing software like Adobe Lightroom or Photoshop, use tools like adjustment brushes, graduated filters, and tone curve adjustments to fine-tune exposure and contrast. HDR software can also be effective for blending bracketed exposures.
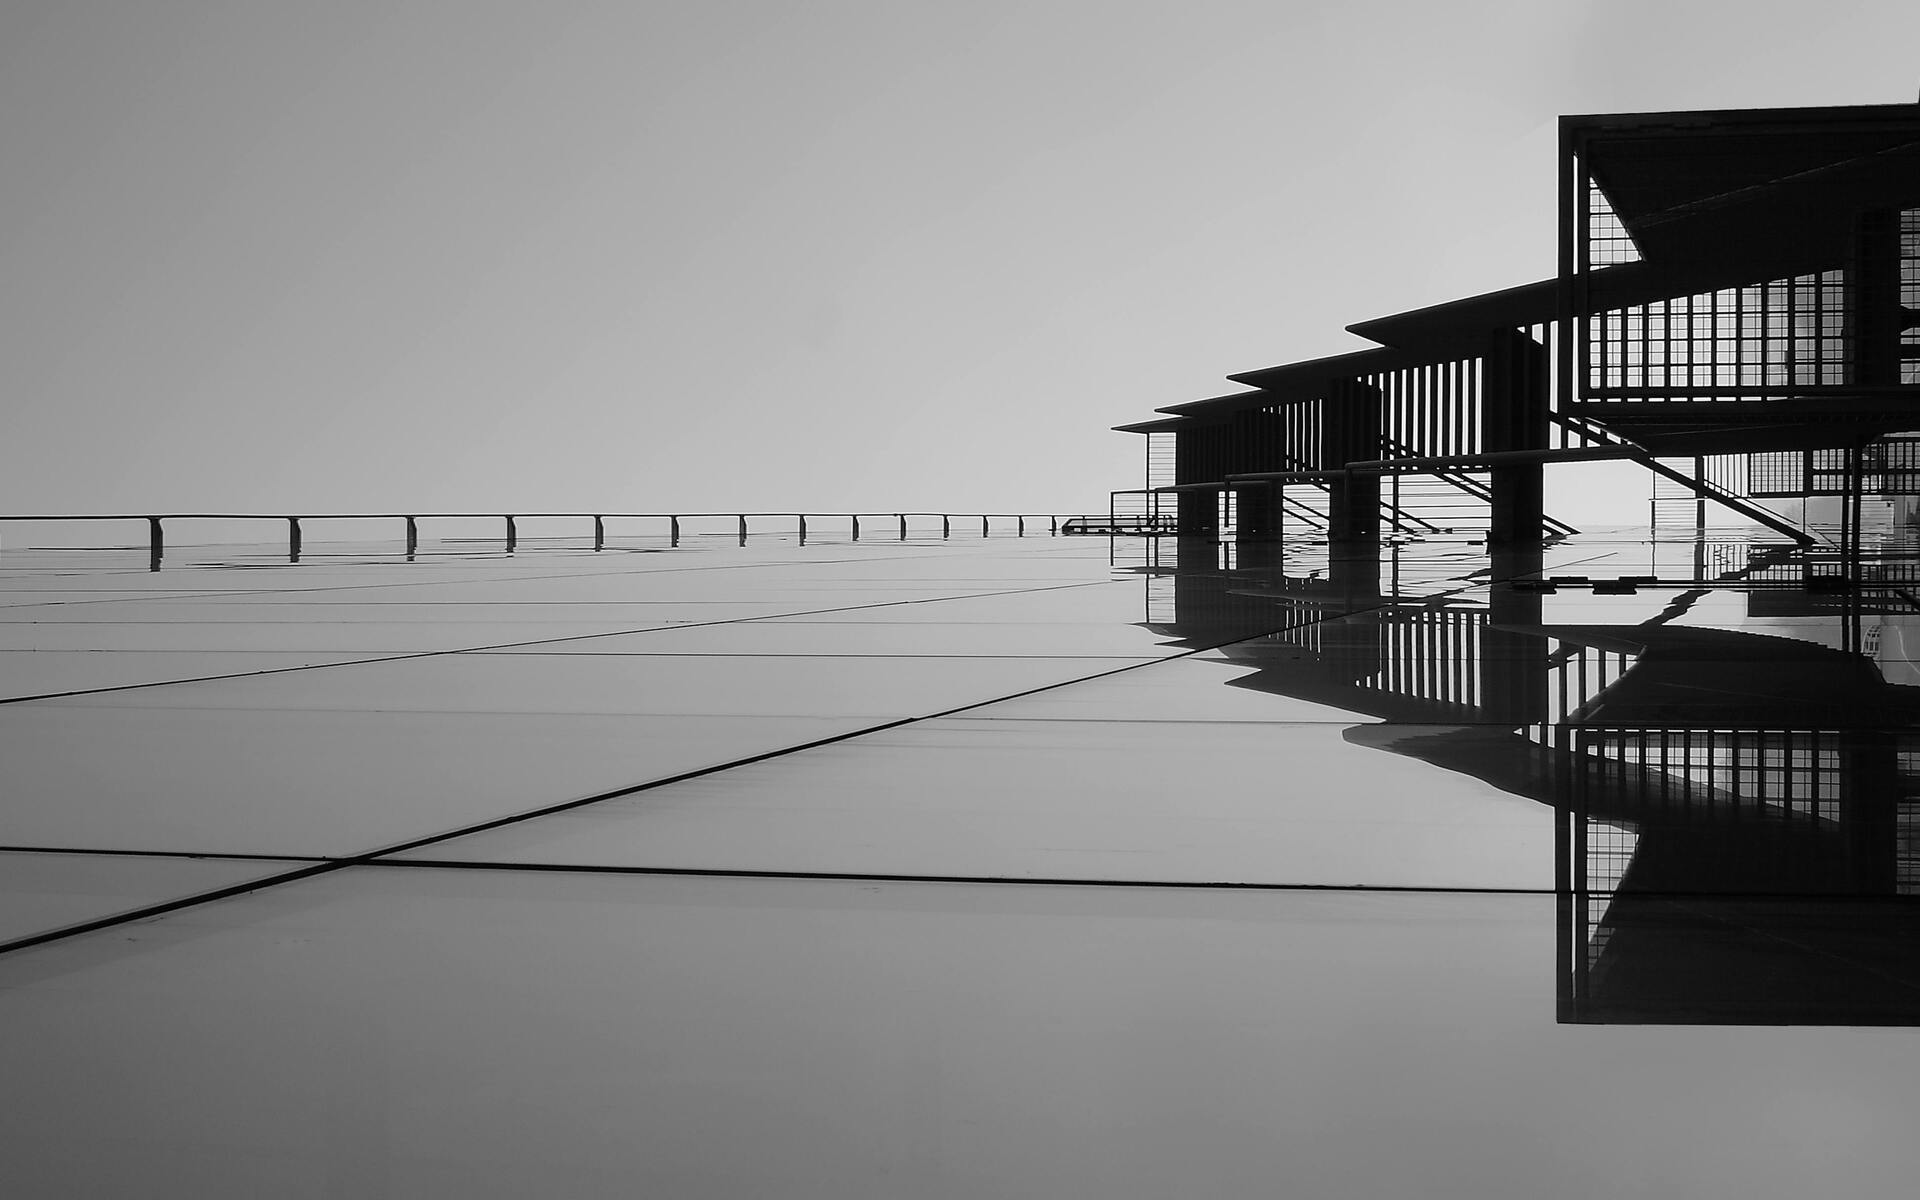
- Experiment with Creative Effects: Challenging lighting conditions can sometimes inspire creative effects. Consider using silhouettes, shadows, or reflections to your advantage, transforming difficult lighting into artistic elements of your composition.
- Scouting Locations: Visit the location in advance and assess the lighting conditions at different times of the day. This will help you plan your shoot and determine the best time to capture the desired lighting.
