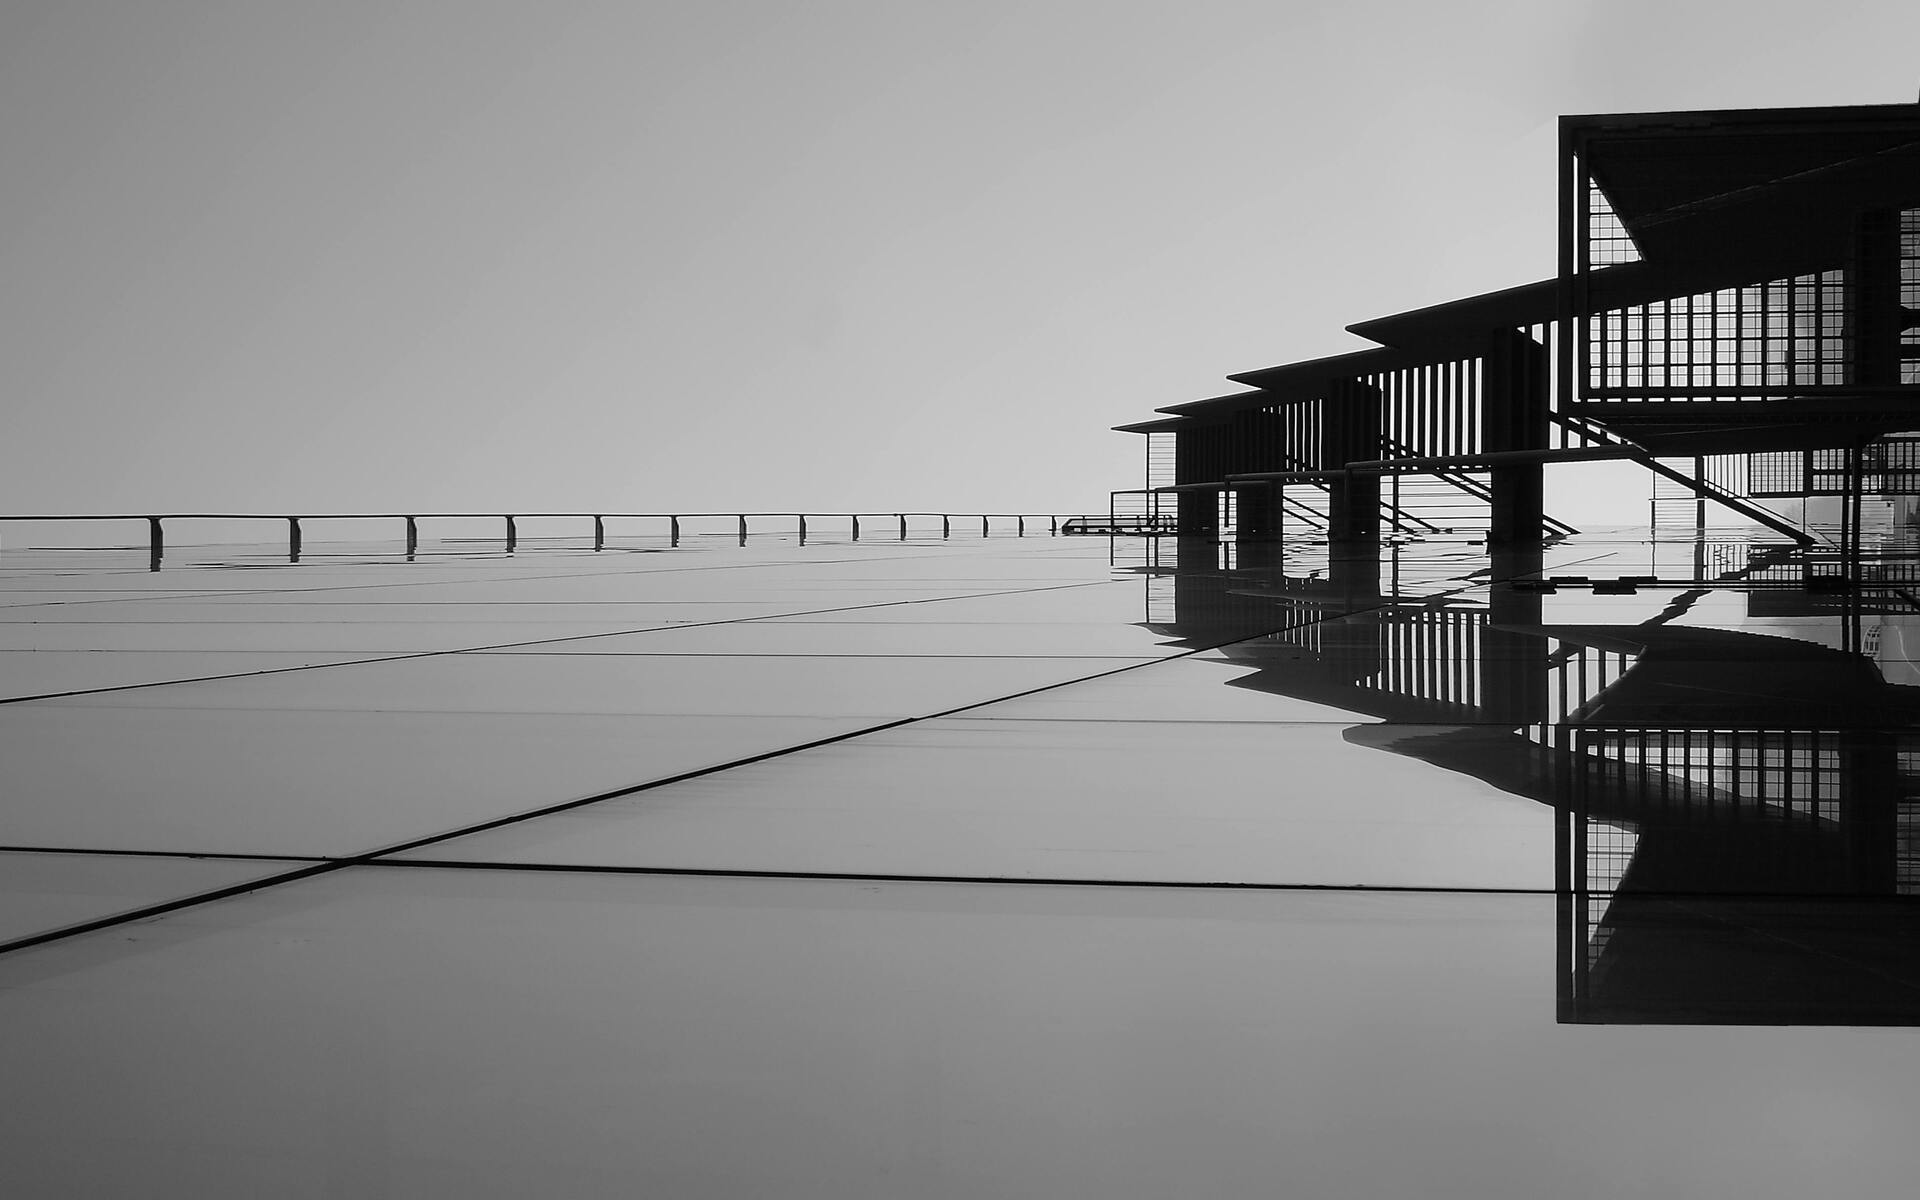
FAQ About Architectural Photography
Architectural Photography
2 years ago | gizem
What is the best way to capture interior architectural shots?
Capturing interior architectural shots can be both challenging and rewarding. To create compelling interior photographs that showcase the space's design and ambiance, consider the following tips:
Plan Your Shot:
- Begin by understanding the space and its key features. Identify architectural elements, such as unique designs, materials, or lighting, that you want to highlight in your photographs.
Use a Tripod:
- A sturdy tripod is essential for interior photography. It allows you to use slower shutter speeds while maintaining sharpness and preventing camera shake.
Wide-Angle Lens:
- Wide-angle lenses (e.g., 16-35mm) are often used in interior photography to capture more of the space in a single frame. They can showcase the room's layout and make it feel more spacious.
Compose Thoughtfully:
- Pay attention to composition. Use leading lines, symmetry, and framing elements to guide the viewer's eye and create a sense of balance and harmony.
- Consider the rule of thirds to position key elements in the frame. Be aware of converging lines and use lens corrections to correct perspective distortion.
Adjust the White Balance:
- Interior lighting can vary in color temperature, so set the white balance manually or in post-processing to ensure accurate color representation. Shoot in RAW format for flexibility in post-production adjustments.
Lighting:
- Use natural light to your advantage. If possible, photograph interiors during the golden hours (early morning or late afternoon) when the light is soft and warm.
- Alternatively, use artificial lighting strategically to highlight architectural features and create a pleasing ambiance. Avoid harsh direct lighting that can create strong shadows and overexposed areas.
- Experiment with different lighting sources, such as lamps, candles, or interior fixtures, to add warmth and depth to the scene.
HDR or Bracketing:
- In high-contrast situations, consider bracketing exposures to capture a range of highlights and shadows. Merge these exposures in post-processing to create a well-balanced image.
Use a Polarizing Filter:
- A circular polarizing filter can reduce glare and reflections on glass or polished surfaces, allowing you to capture interiors with greater clarity.
Framing Elements:
- Incorporate architectural elements like doorways, windows, or arches to frame your shots. This can add depth and context to your composition.
Furniture and Props:
- Arrange furniture and decorative items thoughtfully to enhance the scene's aesthetic. Remove clutter and distractions from the frame.
People or Activity:
- Consider including people in the shot to add a sense of scale and life to the interior. Alternatively, capture the space when it's in use to convey its purpose and functionality.
Vertical vs. Horizontal Orientation:
- Experiment with both vertical and horizontal orientations to capture the space from different perspectives. Vertical shots are often used to showcase height and grandeur, while horizontal shots emphasize width and flow.
Post-Processing:
- In post-processing, fine-tune exposure, contrast, color balance, and sharpness. Correct lens distortions and perspective issues if needed.
- Use local adjustments to enhance specific areas of the image, such as increasing brightness in shadowed corners or emphasizing details.
Practice and Patience:
- Interior photography may require multiple attempts to achieve the desired result. Experiment with different angles, lighting setups, and compositions to find the most effective approach for each space.
